

New "webauthn" library (web authentication through touch, swipe, face...)

Search for a command to run...
No comments yet. Be the first to comment.
Hello folks, I'm pleased to announce the release of the v2.0 of my WebAuthn library! This library greatly simplifies the usage of passkeys by invoking the WebAuthn protocol more conveniently. It is open source, opinionated, dependency-free and minim...

The WebAuthn protocol is more than 200 pages long, it's complex and gets constantly tweaked. Moreover, the reality of browsers and authenticators have their own quirks and deviate from the official RFC. As such, all information on the web should be t...

How the Passwordless.ID development is currently in a slump.

Hello folks! Since I have little time to cater about Passwordless.ID lately, I wanted to at publish some little update. So here we go, the WebAuthn library (to enable passwordless login using passkeys) now also delivers more information about the "au...
What I like about the banner picture above is that it is a very useful analogy to our problem at hand. A database is nothing else than a glorified electronic version of it. Lots of small storage boxes containing some data, and identified by a label o...

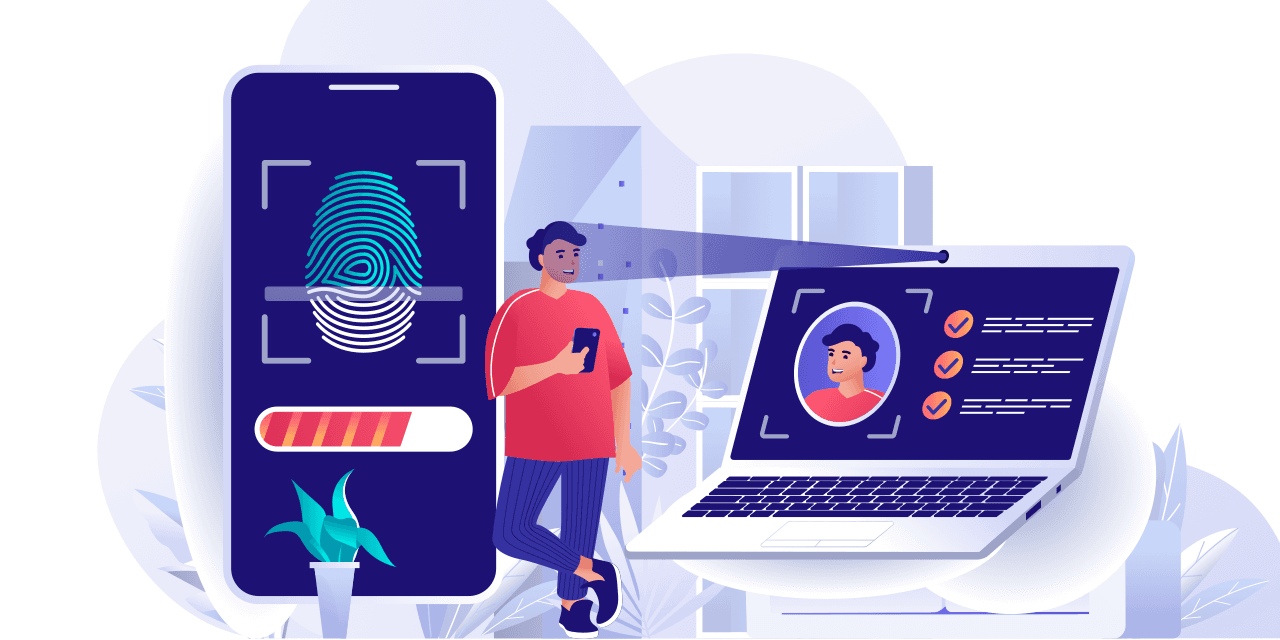
Can registration/authentication be both smoother and more secure? Yes, it can! Without any password. This is sometimes called "webauthn", or "passkeys", or "passwordless authentication". It relies on the local platform authentication (using fingerprint recognition, a swipe pattern, PIN code or whatever) and asymmetric cryptographic signatures to authenticate the user. This is quite a lot packed in a small sentence, it will be explained in more details later. First, let us take a look and experience it for yourself!
If you do not see the following demo in the iframe, you can check out directly https://passwordless.id which has the demo on top.
And just to avoid some misconceptions upfront...
The fingerprint, swipe pattern, face, etc. is never sent to the server, it's used for local authentication. Moreover "passwordless" authentication is actually more secure than passwords since it is two-factor authentication by design
This is based on the low-level webauthn protocol, an official W3C standard implemented by all major platforms and browsers. For a more "digestible" version, I advise to look at the webauthn guide explainers.
The flow looks like this:

This flow diagram is of course very simplified, but it outlines the core principle.
During registration, a key pair is generated. This key pair, also called a passkey, is tied to the web domain (or a parent domain) and its access protected by the local platform authentication. The public key is sent to the server and later used to verify authentication attempts.
The private key is kept safe on the device. During authentication, the server sends a challenge, which is basically a nonce to avoid replay attacks, that the client must sign. This challenge can only be signed in the domain's context and requires the local platform authentication. The private key is never revealed at any point.
On the server side, the signature can be verified using the public key obtained during registration. Done. This also avoids a whole bunch of security vulnerabilities like password reuse, phishing, replay attacks, database breaches, etc. It's simply more secure by design.
The native protocol is fairly complex and low level. However, here is a library to make your life easier!
So either install it per npm:
npm install @passwordless-id/webauthn
Or import it directly in your web page! In case you don't know it, by declaring a <script type="module"> on your page you can import modules directly on a plain html page. As an example, the first thing to do is to import the package and check if webauthn is available.
<script type="module">
import { client } from 'https://unpkg.com/@passwordless-id/webauthn'

if(client.isAvailable())
  alert("Sorry, passwordless authentication is not yet available on your platform/browser!")
</script>
Please note though that this does not work in codepen, jsfiddle or other such environment because you will be constrained by the iframe policy. You need to serve it directly, localhost is fine though.
Likewise, it only works for chrome and edge. Safari has not yet been tested and firefox is not yet supported because they are a bit behind in their implementation, but that should change in the near future.
The registration process occurs in four steps:
client.register(...) and sends the result to the serverNote that unlike traditionnal authentication, the credential key is attached to the device. Therefore, it might make sense for a single user account to have multiple credential keys.
As explained previously, the challenge is basically a nonce to avoid replay attacks.
const challenge = /* request it from server */
Remember it on the server side during a certain amount of time and "consume" it once used.
Example call:
import { client } from '@passwordless-id/webauthn'

const registration = await client.register("my-username", "randomly-generated-challenge-to-avoid-replay-attacks")
There are a few more options that you can set, but the default is just fine too.
Once the biometric or user input for local authentication is given, the function succeeds. The registration object that is obtained looks like this:
{
  "username": "Arnaud",
  "credential": {
    "id": "3924HhJdJMy_...",
    "publicKey": "MFkwEwYHK...",
    "algorithm": "ES256"
  },
  "authenticatorData": "SZYN5YgOjGh0NBcPZH....",
  "clientData": "eyJ0eXBlIjoid2ViYX..."
}
Then simply send this object as JSON to the server.
The typescript library provides both sides, for the client and server. Simply import the corresponding module.
import { server } from '@passwordless-id/webauthn'

const expected = {
    challenge: "random-challenge-to-avoid-replay-attacks",
    origin: "http://localhost:8080",
}
const registrationParsed = await server.verifyRegistration(registration, expected)
Either this operation fails and throws an Error, or the verification is successful and returns the parsed registration. Example result:
{
  "username": "Arnaud",
  "credential": {
    "id": "3924HhJdJMy_...",
    "publicKey": "MFkwEwYH...",
    "algorithm": "ES256"
  },
  "authenticator": {
    ...
    "name": "Windows Hello Hardware Authenticator"
  },
  ...
}
The credential key is the most important part and should be stored in a database for later since it will be used to verify the authentication signature.
Please note that unlike traditional systems, a user might have multiple credential keys, one per device.
There are actually two kinds of authentications possible:
Both have their advantages and disadvantages that go beyond the scope of this tutorial.
The authentication procedure is similar to the procedure and divided in four steps.
client.authenticate(...) and sends the result to the serverAgain, the challenge is basically a nonce to avoid replay attacks.
const challenge = /* request it from server */
Remember it on the server side during a certain amount of time and "consume" it once used.
import { client } from 'webauthn'

const authentication = await webauthn.authenticate(["the-credential-id"], "random-challenge-to-avoid-replay-attacks")
Like with the registration, we will omit any options since the defaults are just fine.
Once the biometric or user input for local authentication is given, the function succeeds and the obtained authentication object looks like this.
{
  "credentialId": "3924HhJdJMy_...",
  "authenticatorData": "SZYN5YgOjG...",
  "clientData": "eyJ0eXBlIjoid2ViYXV0aG...",
  "signature": "MEUCIAqtFVRrn7q9HvJC..."
}
The signature is the important part here. It proves that the user possesses the corresponding private key.
import { server } from '@passwordless-id/webauthn'

const credentialKey = { // obtained from database by looking up `authentication.credentialId`
    id: "3924HhJdJMy_...",
    publicKey: "MFkwEwYHKoZIzj0CAQ....",
    algorithm: "ES256"
} as const

const expected = {
    challenge: "random-challenge-to-avoid-replay-attacks",
    origin: "http://localhost:8080",
    userVerified: true, // should be set if `userVerification` was set to `required` in the authentication options (default)
    counter: 0 // for enhanced security, you can store the number of times this authenticator was used and ensure it increases each time
}
Often, it might also be more practical to use functions to verify challenge or origin. This is possible too:
const expected = {
    challenge: async (challenge) => { /* async call to DB for example */ return true },
    origin: (origin) => listOfAllowedOrigins.includes(origin),
    userVerified: true, // no function allowed here
    counter: 0  // no function allowed here
}
const authenticationParsed = await server.verifyAuthentication(authentication, credentialKey, expected)
Either this operation fails and throws an Error, or the verification is successful and returns the parsed authentication payload.
Please note that this parsed result authenticationParsed has no real use. It is solely returned for the sake of completeness. The verifyAuthentication already verifies the payload, including the signature.
Congratulations! Your user is now registered and authenticated using a more secure method!
You can also play around with the various options in the playground https://webauthn.passwordless.id/demos/playground.html, for example to use an external device. One of these options is for example to be able to select an extern authenticator, like an usb security key, or delegate authentication to your phone while using your laptop.
Unlike traditional authentication systems, you must keep in mind that the credential key is device bound. (Well, this is partly true. Google, Microsoft and Apple plan to sync these "passkeys" just like they do with the passwords if you enable a setting like "synchronize device settings" or something similar.)
However, this requires you to think a bit differently about authentication. What if the user loses its device? How can a user register multiple devices? Can the user block a lost device?
Lastly, there might still be situations where the user's platform/browser combination does not properly support the webauthn protocol yet and requires fallback authentication mechanisms like plain old passwords or code links sent per e-mail / sms.
Therefore, this webauthn library solves part of the complexity by abstracting away all the low-level technical stuff. However the authentication system should be seen as a whole and there is still quite some complexity attached to it. Moreover, users would be annoyed to manage multiple profiles anyway. After all, why do I as a user, have to register a new account each time for every website / webapp? That is why Passwordless.ID is born (and is currently in development). It should provide a "Sign in with Passwordless.ID" button, which provides smoother user experience for the user, is super easy to user for developers and more secure for everyone as icing on the cake.
Thanks for reading, I'd love to hear your feedback!